
What Is a Roux?
Before we start, let’s talk about how to pronounce Roux. It is very easy to pronounce; it just sounds different than it is spelled. Roux is pronounced like Roo. Like Boo, but with an “R.”
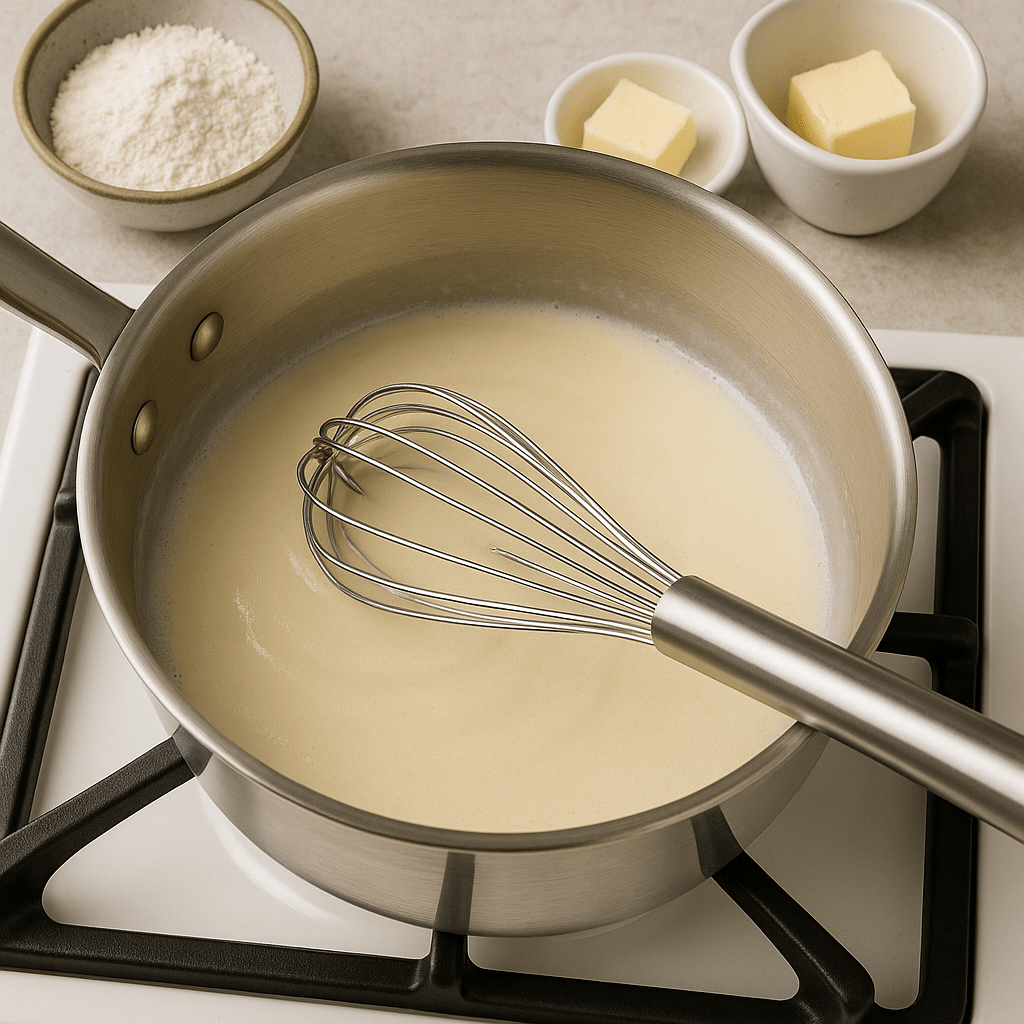
A roux is simple. Maybe the most simple thing in cooking.
It’s just flour and fat — that’s it!
The most common fat used is clarified butter, but you can use just about any fat: whole butter, vegetable oil, rendered chicken fat, or other rendered animal fats. Just know that each fat will impact the flavor of the roux — some subtly, some boldly.
Different Types of Roux
Wait… there’s more than one kind of roux?
Yep! There are four main types:
- White Roux – barely colored
- Blonde Roux – golden and toasty
- Brown Roux – deep brown, nutty
- Dark Roux – rich, dark brown (but not burned!)
The difference? Time and heat.
The longer you cook it, the darker it gets. Want a white roux? Melt the fat, whisk in the flour, and cook just until smooth.
Want a brown or dark roux? Keep going — just don’t stop stirring, or it’ll burn on the bottom.
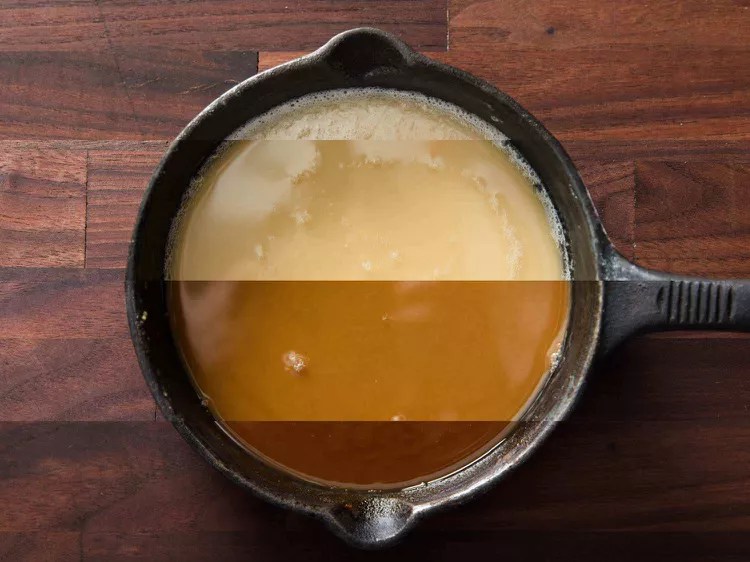
Image Source: Serious Eats – Roux color progression
Why It Matters: Flavor, Texture & Thickening Power
Flavor
Your choice of fat and the roux’s color directly affect the taste.
Rendered chicken fat? Extra savory. Clarified butter? Smooth and balanced.
Darker roux? Toastier and nuttier. Lighter roux? More neutral.
Texture
Roux should be smooth and glossy — not greasy, not clumpy.
If it looks dry or oily, your fat-to-flour ratio might be off.
Thickening Power
Here’s a fun fact from culinary school:
The darker the roux, the weaker its thickening power.
Why? The longer you cook it, the more the starch breaks down.
So if you need serious thickening (like for Alfredo or béchamel), stick with a lighter roux.
Where Roux Shows Up in the Kitchen
Let’s be real — you’re not going to plate a roux and eat it with a fork. (At least… I hope not?)
You’re going to add liquid to it — cream, stock, broth, even water — to create a sauce or base.
Here are just a few places roux shows up:
- Alfredo Sauce – like in my Weeknight Wonder recipe!
- Gravy – classic, cozy, always welcome
- Béchamel – the base for mac & cheese, lasagna, and more
- Gumbo – dark roux meets bold flavor
- Mac & Cheese – yes, a good cheese sauce starts with a roux
The point is: Roux makes sauces possible. It’s the bridge between fat and flavor.
Common Mistakes When Making a Roux
It is so easy to mess up a roux. Trust me—I’ve done it. My friends have done it. Pretty much anyone who’s ever attempted it has messed it up at least once. But that’s okay! We learn by messing up (and occasionally setting off the smoke alarm).
Adding the Liquid
One of the most common mistakes people make is adding the liquid at the wrong temperature—or adding too much too fast. Temperature matters a lot here. When it’s time to combine your roux with a liquid (like stock or milk), here’s the golden rule: hot roux, cold liquid or cold roux, hot liquid. But if you want that roux to be smooth, lump-free, and dreamy, I recommend going with cold liquid to hot roux. That combo gives you the best texture and helps the flour dissolve like magic.
Now let’s talk speed. Even if your temperature is perfect, dumping all the liquid in at once is a recipe for one thing: a clumpy, pasty disaster. Once those lumps form, they are so hard to whisk out—especially when there’s already a bunch of liquid in the pot. So what do you do instead?
You’ve got three options:
- Add the liquid in a slow, steady stream while whisking the whole time like your life depends on it.
- Add the liquid in small portions, whisking in between each addition.
- Tag team it—one person pours while the other whisks like a kitchen ninja.
Whichever way you go, don’t rush it. Your future sauce will thank you.
Not Stirring Enough
Let me say it louder for the people in the back: You’ve got to stir that roux!
When you add the fat, stir it to coat the pan. When you add the flour, stir it to combine. Once they’re combined? Keep stirring. Stir it until it turns the color you want—and then stir some more as you add your liquid.
A common rookie move is tossing in the flour, giving it a few stirs, then just walking away like it’s going to magically cook itself. Nope! Sorry, friend, roux doesn’t work that way. If you want it smooth, golden (or deep brown), and delicious, you’ve got to show it some love. That means stirring it consistently so it cooks evenly and doesn’t scorch. Think of it like babysitting—but for flour and butter.
Burnt Roux Alert!
Okay, last one. Let’s talk about the dreaded burnt roux.
Roux is ridiculously easy to burn. It’s like milk—it’ll sneak up on you and ruin your day before you even realize it. And just like burnt popcorn, the smell is your first warning sign. If your roux starts smelling funky—kind of like sour milk or something just… off—you’ve likely scorched it.
And if you really go too far? Oh, you’ll know. It’ll turn a deep brown, maybe even black or charred. You might even wonder, “Did I just invent roux charcoal?” And once it’s burnt, there’s no saving it. Pitch it, take a breath, and start again. Happens to the best of us.

Image Source: Pinterest
Wrapping It Up
So what have we learned?
- What a roux is (simple + powerful)
- What fats you can use (and how they change flavor)
- How long to cook it (longer = darker, toastier, less thickening)
- Where it shows up (everywhere, basically)
And here’s the best part: You don’t even have to add liquid right away.
You can sauté garlic, onions, or even mirepoix in your roux before building a sauce.
The possibilities? Endless.
So go make a roux. Then a béchamel. Then some Alfredo.
Or whatever you’re hungry for.
Until Next Time…
Stay Saucy
Hailey 🍝

Leave a comment